Here's my effort.
I've been meaning to fab up a light for the kitchen that we can use with or without the awning up for a while now and finally got a chance to do something about it this weekend.
Main components are led strip lights, square section aluminium from Bunnings with a range of joiners (T's , right angles etc) and a water proof switch.
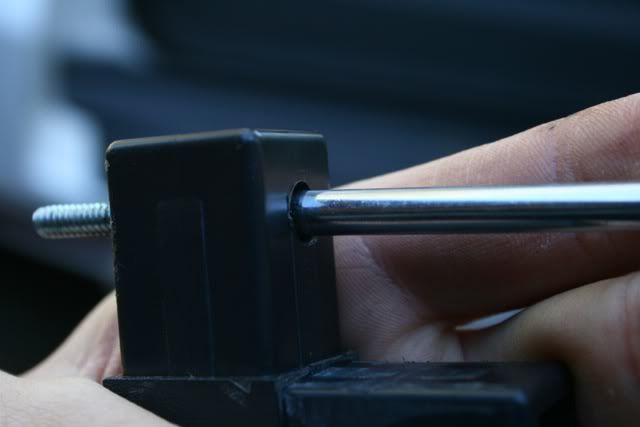
I wanted it to be easy to setup and free standing. First step was to bolt a T joiner to the back edge of the kitchen. These T joiners are made for permanent connection, which I didn't want at this particular join so I filed down the ridges so I could connect and un-connect the pieces easily when setting up the light.
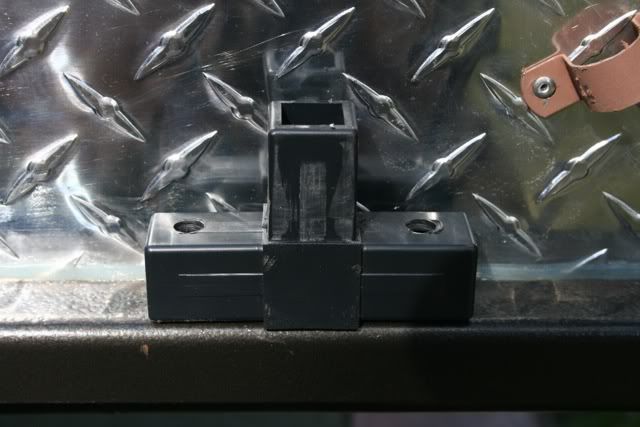
The holes in the top were just so I could get the screw driver through to the bolt head inside the T piece.
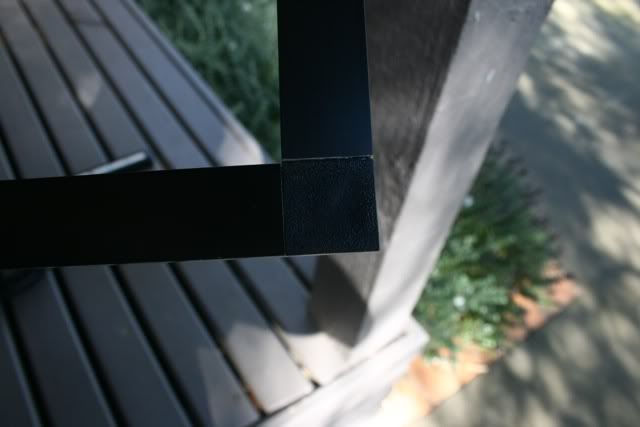
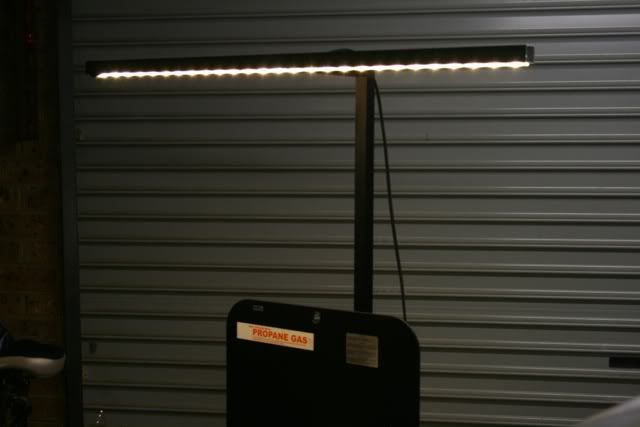
Next was to make up the upright with a short return piece at the top to get the light out over the centre of the stove and bench. The upright slides over the T piece I bolted to the back of the kitchen.

It's just 2 pieces of the aluminium square section joined with a right angle joiner. This bit I wanted to be a permanent join so didn't file the ridges off.
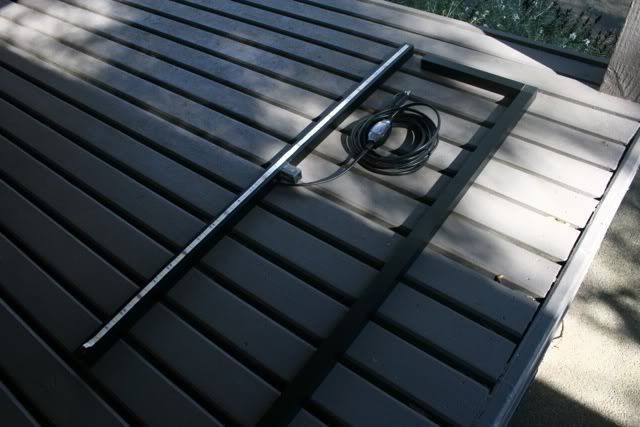
Next was to make up the light bar to attach to the upright. I made this from 2 piece of aluminium square section joined by a T joiner. This means it just slots straight into the upright (again, I filed the ridges down on this connection).
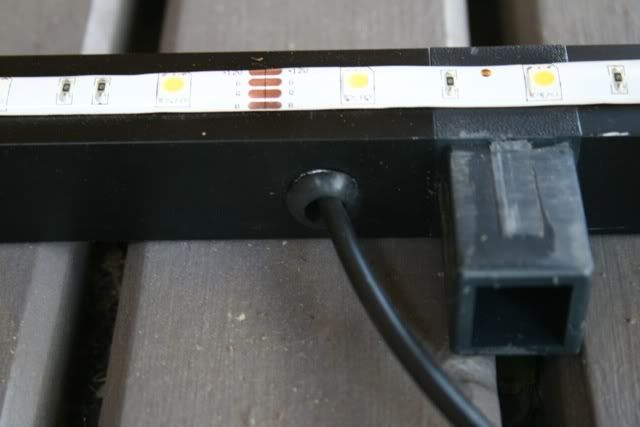
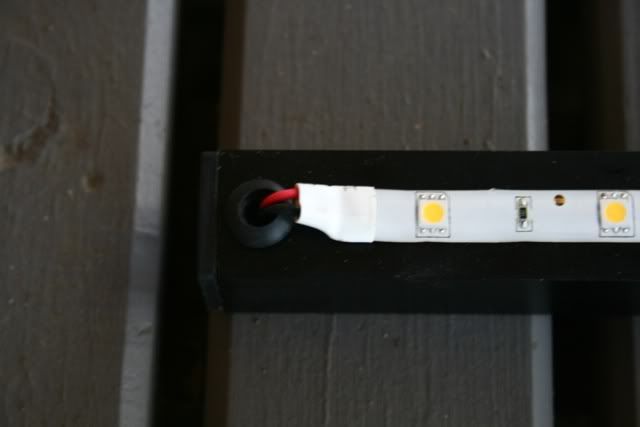
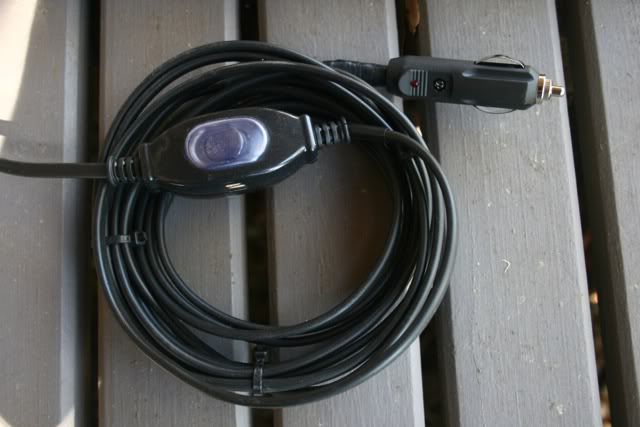
The led strip is stuck to the bottom and wiring runs through a grommet in the end, joins onto a 5m cable, comes out through another grommet in the centre of the bar, through a water proof switch and to a 12v cig plug.
So, the whole thing is just two parts. The light bar, and the upright. The upright slots into the T on the back of the kitchen and the light bar slots into the upright. 15 seconds max to set it up. We'll keep the 2 pieces next to the mattress on the bed base ready to plug in when we setup.
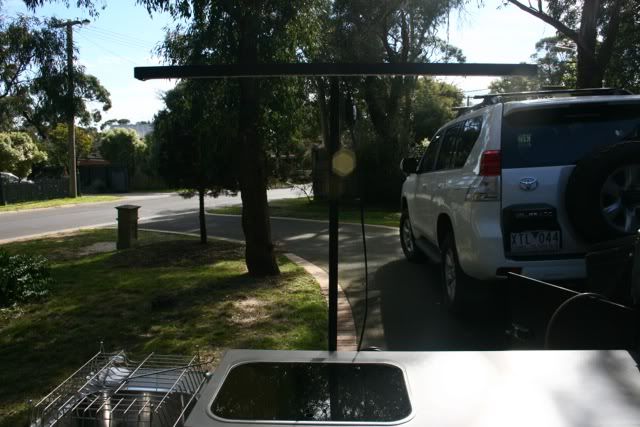
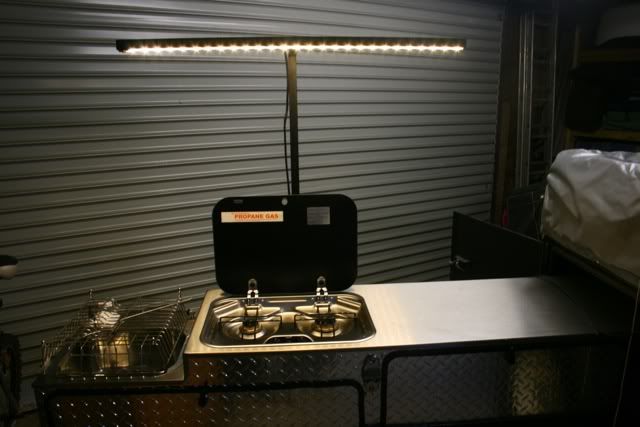
Provides heaps of light right where we need it and doesn't rely on the awning or any poles! Very happy with the end result.
Cheers, Sam.